All Categories
Featured
Fence articles play a crucial duty in keeping the stability and look of your fence. When an article leans or becomes broken, it's vital to resolve the issue quickly to protect against more wear and tear. Below's an in-depth overview on just how to take care of a leaning or damaged fence blog post with simplicity.
Action 1: Establish the Source Of the Trouble
Understanding why your fence blog post is leaning or harmed is vital to using the proper solution. Typical reasons consist of:
Dirt erosion or loosened ground
Rot or degeneration in wooden posts
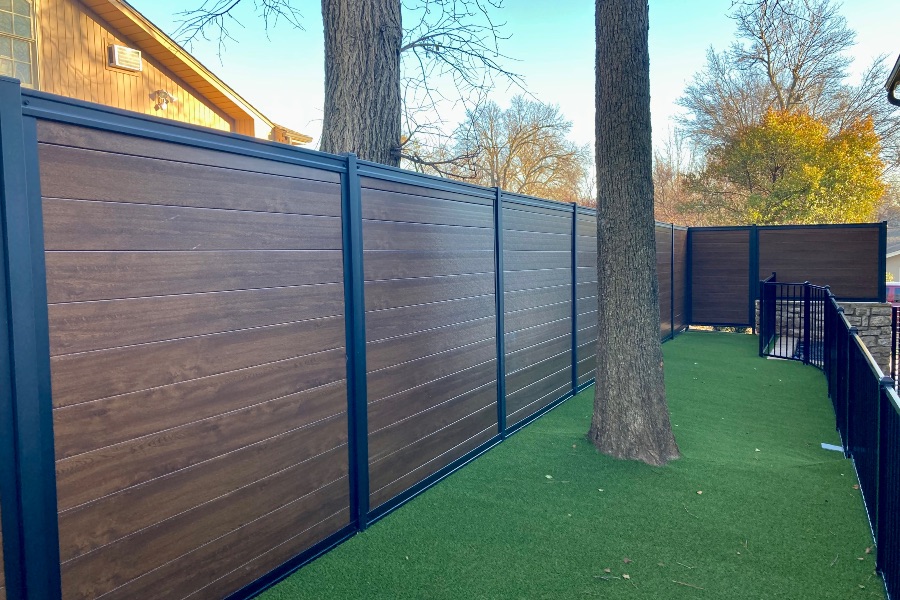
Physical damage from weather condition or effect
![]()
Insufficient installation or improper securing
Identifying the cause assists guarantee the trouble won't persist after repair work.
Step 2: Collect Devices and Products
You'll need the adhering to products:
Shovel or message opening digger
Hammer or pierce
Level
Crushed rock or concrete mix
Replacement post (if required)
Saw (for cutting timber if needed)
Post fixing brackets or anchors (optional)
Action 3: Repairing a Leaning Fence Blog Post
If the post is leaning yet not harmed, below's exactly how to fix it:
Dig Around the Base. Use a shovel to dig around the leaning message, subjecting its base and loosening up the dirt.
Straighten Out the Post. Use a level to check upright alignment. Have somebody hold the message upright while you change it.
Enhance the Base
For Crushed Rock: Load the hole with gravel, tamping it down as you go to make sure stability.
For Concrete: Pour concrete into the hole around the base of the article, ensuring it fills up all gaps.
Secure and Set. Allow the concrete to heal for a minimum of 24 hours. The blog post must continue to be upright. once it's strong.
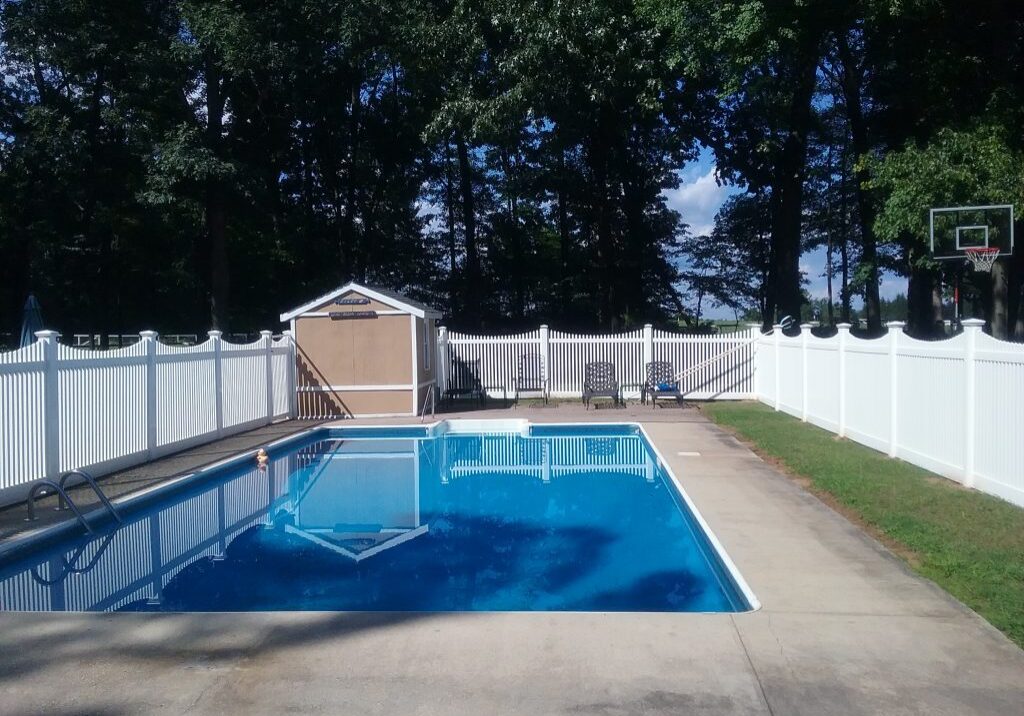
Step 4: Changing a Damaged Article
![]()
When an article is broken or rotten, substitute is often the very best service.
Remove the Old Message. Remove the damaged message in addition to any concrete ground. You may need a pry bar for stubborn pieces.
Prepare the Hole. If essential, tidy out the opening and make it somewhat bigger. Guarantee the depth is at least one-third the article's overall length for security.
Set Up the New Blog Post. Area the new article in the hole and examine positioning with a level. Safeguard it briefly with dental braces or stakes.
Load and Protect. Use gravel or concrete to fill up the hole, putting or tamping as required. Let the material set before affixing fence panels or rails.
Action 5: Protect Against Future Issues.
To keep your fence blog posts durable and sturdy, follow these ideas:
Usage pressure-treated wood or metal posts immune to rot and degeneration.
Make certain proper drain to avoid water from pooling at the base.
Evaluate your fencing annually for signs of wear or instability.
Final Thought
Repairing a leaning or harmed fencing message is a manageable DIY job that can conserve you money and time. By determining the issue, utilizing the ideal materials, and following these actions, you can recover your fencing to its initial condition. Normal upkeep and timely repairs will guarantee your fencing remains a appealing and solid attribute of your home for years to come.
Action 1: Establish the Source Of the Trouble
Understanding why your fence blog post is leaning or harmed is vital to using the proper solution. Typical reasons consist of:
Dirt erosion or loosened ground
Rot or degeneration in wooden posts
Physical damage from weather condition or effect
Insufficient installation or improper securing
Identifying the cause assists guarantee the trouble won't persist after repair work.
Step 2: Collect Devices and Products
You'll need the adhering to products:
Shovel or message opening digger
Hammer or pierce
Level
Crushed rock or concrete mix
Replacement post (if required)
Saw (for cutting timber if needed)
Post fixing brackets or anchors (optional)
Action 3: Repairing a Leaning Fence Blog Post
If the post is leaning yet not harmed, below's exactly how to fix it:
Dig Around the Base. Use a shovel to dig around the leaning message, subjecting its base and loosening up the dirt.
Straighten Out the Post. Use a level to check upright alignment. Have somebody hold the message upright while you change it.
Enhance the Base
For Crushed Rock: Load the hole with gravel, tamping it down as you go to make sure stability.
For Concrete: Pour concrete into the hole around the base of the article, ensuring it fills up all gaps.
Secure and Set. Allow the concrete to heal for a minimum of 24 hours. The blog post must continue to be upright. once it's strong.
Step 4: Changing a Damaged Article
When an article is broken or rotten, substitute is often the very best service.
Remove the Old Message. Remove the damaged message in addition to any concrete ground. You may need a pry bar for stubborn pieces.
Prepare the Hole. If essential, tidy out the opening and make it somewhat bigger. Guarantee the depth is at least one-third the article's overall length for security.
Set Up the New Blog Post. Area the new article in the hole and examine positioning with a level. Safeguard it briefly with dental braces or stakes.
Load and Protect. Use gravel or concrete to fill up the hole, putting or tamping as required. Let the material set before affixing fence panels or rails.
Action 5: Protect Against Future Issues.
To keep your fence blog posts durable and sturdy, follow these ideas:
Usage pressure-treated wood or metal posts immune to rot and degeneration.
Make certain proper drain to avoid water from pooling at the base.
Evaluate your fencing annually for signs of wear or instability.
Final Thought
Repairing a leaning or harmed fencing message is a manageable DIY job that can conserve you money and time. By determining the issue, utilizing the ideal materials, and following these actions, you can recover your fencing to its initial condition. Normal upkeep and timely repairs will guarantee your fencing remains a appealing and solid attribute of your home for years to come.
Latest Posts
Find Out Why Chicago Drivers Select Montclare Auto Repair for Trusted Service and Significant Savings
Published May 25, 25
1 min read
Reasons Routine Car Maintenance at Montclare Auto Repair Reduces Costs
Published May 25, 25
1 min read
Identifying When Your Car Needs Professional Auto Repair at Montclare Auto Repair
Published May 24, 25
1 min read
More
Latest Posts
Find Out Why Chicago Drivers Select Montclare Auto Repair for Trusted Service and Significant Savings
Published May 25, 25
1 min read
Reasons Routine Car Maintenance at Montclare Auto Repair Reduces Costs
Published May 25, 25
1 min read
Identifying When Your Car Needs Professional Auto Repair at Montclare Auto Repair
Published May 24, 25
1 min read